How To Propagate Peperomia: Step-by-step Guide For Success: Propagating peperomia plants is a rewarding way to expand your indoor garden and share these charming plants with friends and family. Peperomias are relatively easy to propagate, making it a great project for both beginner and experienced plant enthusiasts. This article provides a detailed, step-by-step guide on how to propagate peperomia plants successfully using various methods.
Understanding Peperomia Propagation
Peperomias can be propagated through stem cuttings, leaf cuttings, or division. The best time to propagate is during early spring or summer when the plant is actively growing. Regardless of the method, patience is key, as roots and new growth take time to develop.
Materials and Tools You’ll Need
- Sharp knife, scissors, or pruning shears
- Glass jar
- Well-draining potting soil mix
- New planters
- Rooting hormone (optional)
- Filtered or “overnight” water at room temperature
- Clear plastic bag (optional)
- Rubbing alcohol (for sanitizing tools)
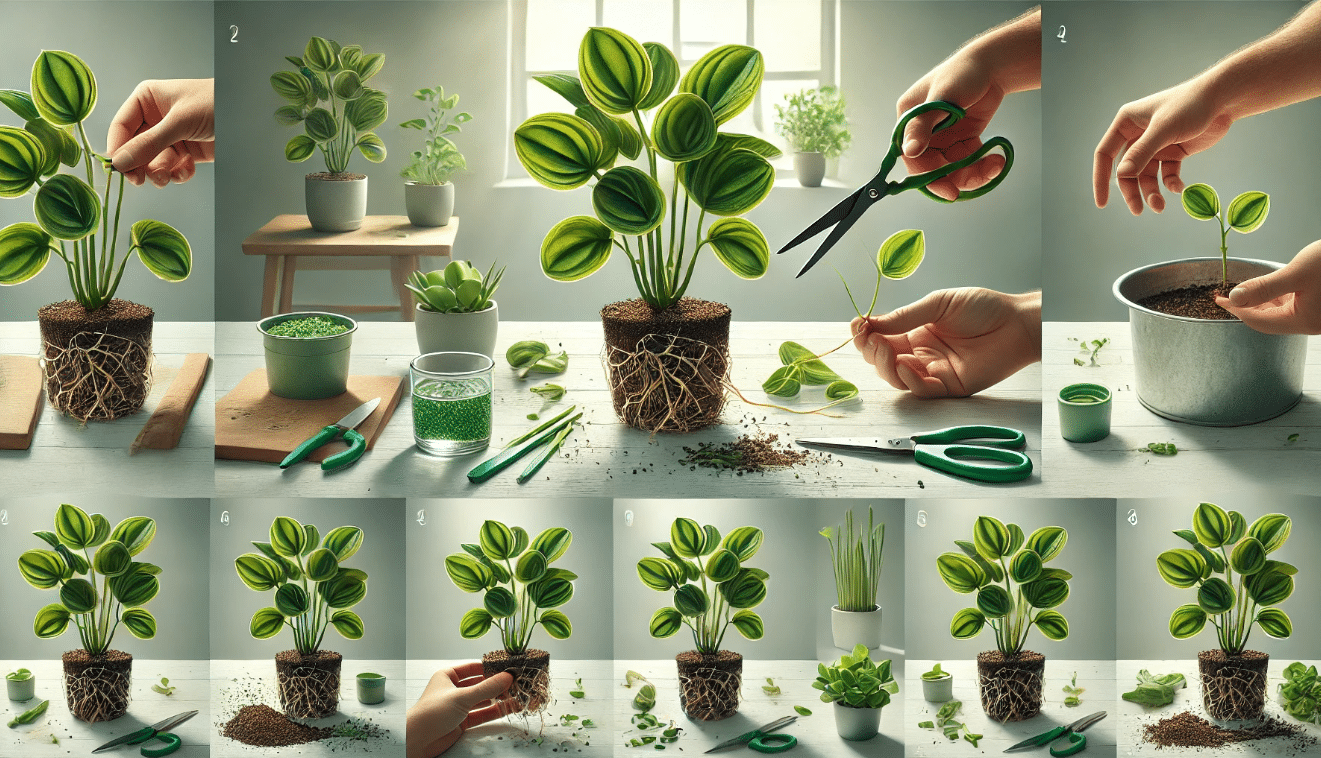
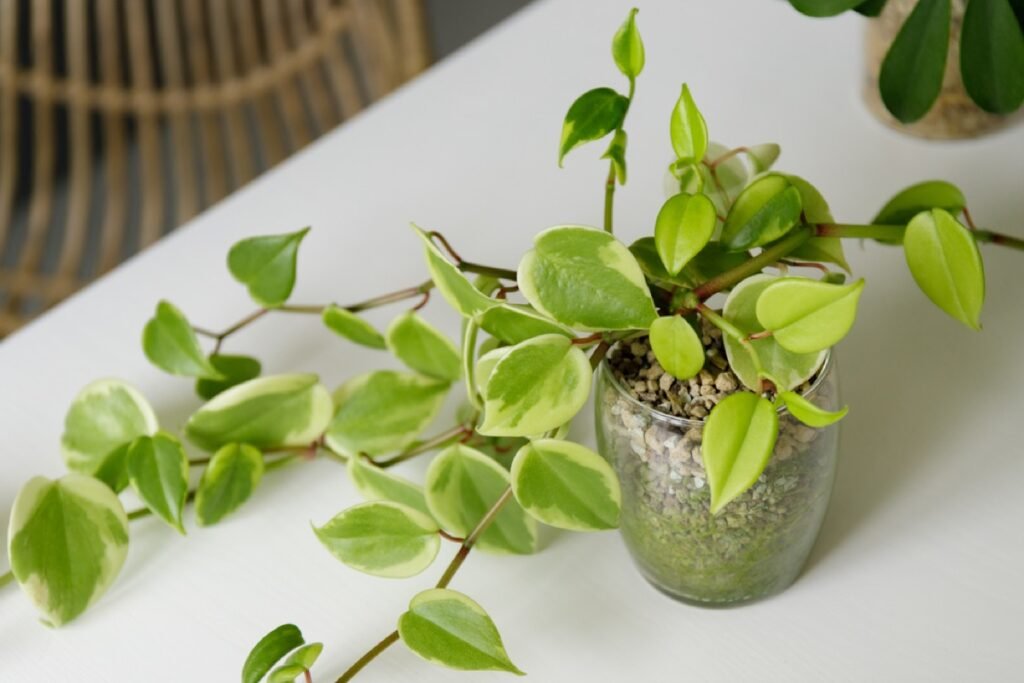
1. Propagating Peperomia in Water
Water propagation is one of the easiest methods for peperomias.
Steps:
- Take a Stem Cutting: Cut a healthy stem cutting from your peperomia plant, ensuring it has at least one leaf node (the point where a leaf grows from the stem). Cut the stem just below a leaf node.
- Prepare the Cutting: Remove any leaves from the bottom portion of the stem to prevent them from rotting in the water.
- Root in Water: Place the stem cutting in a glass jar filled with filtered or “overnight” water, ensuring the bottom node is submerged.
- Provide the Right Conditions: Place the jar in a warm area with bright, indirect light.
- Refresh Water Regularly: Change the water every week or two to keep it fresh and prevent bacterial growth.
- Wait for Roots to Develop: After a few weeks, you should see small roots emerging from the cut end of the stem.
- Transfer to Soil: Once the roots are a decent length (a few centimeters long), it’s time to transfer the cutting to soil.
2. Propagating Peperomia in Soil
Peperomias can also be propagated directly in soil using stem or leaf cuttings.
Propagating from Stem Cuttings:
- Take a Stem Cutting: Cut a healthy stem cutting from your peperomia plant.
- Apply Rooting Hormone (Optional): Dip the cut end of the stem cutting in rooting hormone to encourage root development.
- Prepare the Pot: Fill a new container with a fresh, well-draining soil mix, leaving about an inch of space between the soil surface and the pot’s rim.
- Plant the Cutting: Gently push the stem cutting into the soil, and pat the soil gently to secure the cutting.
- Create a Humid Environment: Cover the pot with plastic wrap to raise humidity.
- Provide the Right Conditions: Place the pot in a warm area with bright but indirect light.
- Wait for Roots to Develop: Wait a few weeks for new roots to develop. You can check by gently tugging on the plant.
Propagating from Leaf Cuttings:
- Take Leaf Cuttings: Take a few leaf cuttings from your healthy peperomia plant, leaving a small portion of the stem on each cutting.
- Prepare the Pot: Prepare a new container by filling it with a new potting soil mix or perlite.
- Insert the Leaf Cuttings: Insert the leaf cuttings into the soil by properly burying their stem portion. It’s fine if the leaves get partially buried.
- Provide the Right Conditions: Place the pot in a warm area with bright but indirect light. Cover it with plastic wrap to raise the humidity.
- Wait for Roots to Develop: Note that the roots may take a little longer to develop. Once the leaf cuttings root, you can transplant them into individual pots with soil.
3. Propagating Peperomia by Division

Division is suitable for larger, full-grown peperomia plants.
Steps:
- Remove the Plant from its Pot: Take out the mother peperomia plant from its pot, carefully handling its root system.
- Divide the Plant: Divide the plant into parts, ensuring each part has its roots and healthy stems with foliage. Be careful not to damage the root systems.
- Prepare New Pots: Prepare new pots with a nutrient-rich, well-draining potting mix.
- Transplant the Divisions: Transplant each division into a separate pot and water them well.
- Provide the Right Conditions: Place the pots in a location that receives ample bright but filtered sunlight.
4. Post-Propagation Care
- Light: Provide bright, indirect light to the new plants.
- Watering: Keep the soil consistently moist but not waterlogged.
- Humidity: Maintain high humidity levels, especially for leaf cuttings, by covering them with plastic wrap or using a humidifier.
- Temperature: Keep the plants in a warm environment, ideally between 68-72°F.
Also Read : How To Grow And Care For Peperomia Plants
Conclusion
Propagating peperomia plants is a straightforward and satisfying process. Whether you choose to use stem cuttings, leaf cuttings, or division, following these step-by-step instructions will increase your chances of success. With a little patience and care, you can easily expand your peperomia collection and enjoy these delightful plants throughout your home.
FAQs
What are the main methods for propagating peperomia?
The main methods are stem cuttings, leaf cuttings, and division.
When is the best time to propagate peperomia?
Early spring or summer is the best time.
How do I propagate peperomia leaves?
Place leaf cuttings in moist soil, ensuring they receive indirect light until roots develop.
Can I propagate peperomia without a node?
Yes, you can use leaf cuttings.
How often should I water propagated peperomia cuttings?
Keep the soil consistently moist but not waterlogged.